Installing Android Nougat On A Samsung S5
In this post, we will install Android 7.0 Nougat on a Samsung Galaxy S5 using a Windows machine.
Background
The Samsung Galaxy S5 was released in 2014 and the last official update to Android operating system is Android 6.0 Marshmallow. Therefore, Samsung will no longer release any more updates or security patches. If we want to use the latest and greatest Android operating system, we will have to take matters in our own hands.
Disclaimers
Installing an unsupported operating system can void the warranty and permanently damaged the phone. Although, we were successful in our attempt, there could be many factors that were simply not accounted for. Follow these steps at your own risks.
Backup The Android Device
A backup is the most crucial step. Most people are using a Google account, which already backup contacts, pictures, etc. on Google Drive. Several apps such as WhatsApp also provide integrated backup mechanism so make sure to enabled them.
Google Backup
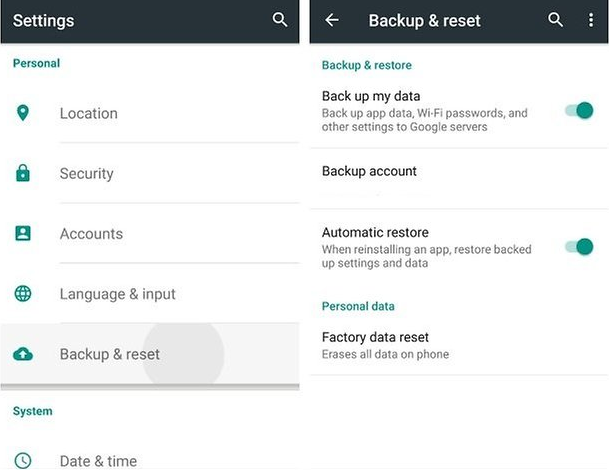
Head into Settings and look for Backup & Reset. In there make sure that Back up my data is on and Backup account is properly setup.

Backup App
A fairly decent backup app is App Backup Restore - Transfer. We have the option to backup to the cloud or a SD card and we can backup apps, contacts, sms, call logs, etc.
Manual Backup
Lastly, we can simply plug the Android device into a computer and copy everything via Windows Explorer.
Identify The Exact Model of the Device
Believe or not, there is over 40 different models of the Samsung Galaxy S5. It is critical to correctly identify the model.
Head into
- Settings
- More
- About device
- Model number
Make note of it.
Prerequisites Downloads
The following should be downloaded prior to the installation. There are sometime specific version for the different variant of the Samsung Galaxy S5 so be sure to pick the right one.
Samsung Driver for Windows PC
We will need to download and install this driver in order to connect the device to a PC over USB
Android USB Driver for Windows
Odin
We will use this tools to flash a Custom Recovery firmware image to the Android device.
TeamWin Recovery Project
Download the tar file for TWRP for the model identified above. Custom recovery is necessary since we want to interact with the partition of the smartphones to change the Android system and install system apps.
Lineage OS
Download the appropriate firmware based on the model identified above. This is basically the custom ROM that will contain the new Android operating system.
Google Apps
Head over to (Open GApps)[http://opengapps.org/] and download the zip that would contains the Google apps desired on the device. Be sure to select the proper platform (ARM), Android version, which depends on the version of LineageOS (at the time of written 7.1), and variant (pico is the minimum).
Installation
Connecting the Device to the PC
- Open Odin on the PC
- Shutdown the device
- Do not connect the device to the PC
- Boot the device in Odin Mode. To do this, while the device is shut off, press and hold home, volume down and power.
- Acknowledge the warning. If there is no warning, the boot fail so try step 2 onward again.
- Connect the device to the PC
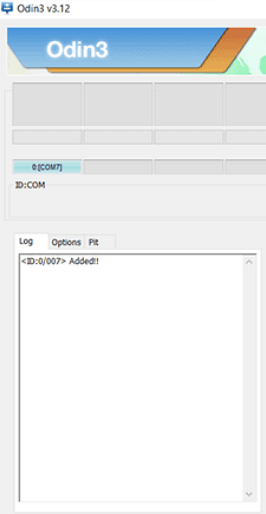
- Wait for the log in Odin to say “Added!!” and for a device to appear in the interface. If nothing happens, try these steps again.

Install TWRP Recovery
Step 3 is time critical, make sure to understand all steps before moving forward.
- In Odin, click on AP and select the .tar file for the TWRP downloaded above
- Click Start to flash the new recovery
- Once the process is complete, the device will shutdown and reboot. Prior to that boot, restart in recovery mode. Otherwise, the device will revert the installation. To do this, press and hold home, volume up and power.
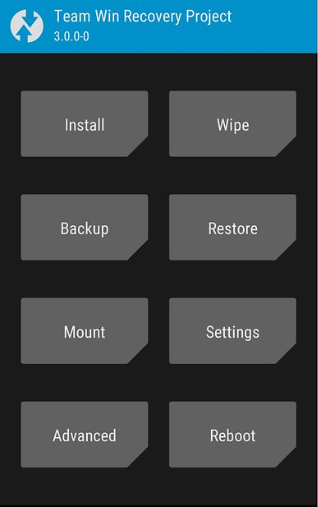
- TWRP should boot up and acknowledge a warning about modifying system partition.
- Go to the Mount section and make sure files of the device are visible on the PC.

Install Lineage OS and Google Apps
- Copy the Lineage OS and Google Apps zip file to a folder on your device. If internal storage lacks, a SD card will work too
- In TWRP, select Wipe and then on Advanced Wipe
- Select Dalvik / ART Cache, System, Data, and Cache and confirm
- Once the wipe is completed, go back to the home screen and select Install
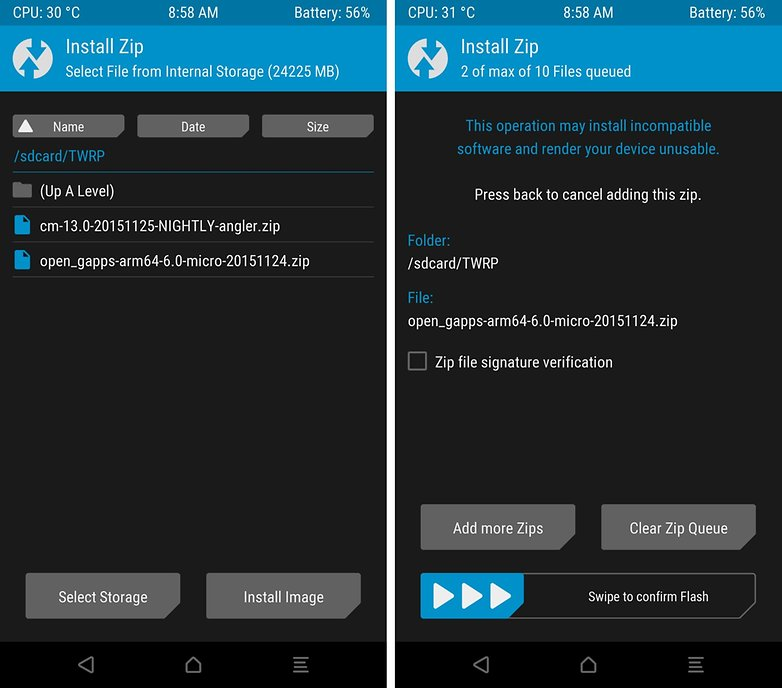
- Select ZIP and go into the directory where Lineage OS is copied and select the file
- Select Add more ZIPs and add the Google Apps zip. Doing both at the same time is critical to avoid authorization conflicts in the future.
- Check for Reboot
- Confirm to start the installation.

Setup the Device
If everything is successful, then it is time to restore backed up information and enjoy a rejuvenated device.


Leave a Comment
Your email address will not be published. Required fields are marked *